Understanding Natural Light: A Photographer's Guide
How to read, shape, and master natural light in outdoor portraiture and landscape photography without relying on heavy studio gear.
Light is the language of photography. You can have the most expensive camera body and the sharpest prime lens in the world, but if you do not understand light, your images will fall flat. For outdoor photographers, mastering the sun—our primary light source—is a lifelong pursuit.
In this guide, we will break down how to read and utilize the four main qualities of natural light: direction, color temperature, intensity, and diffusion.
1. The Directional Quality of Light
Where the sun is positioned relative to your subject defines the mood, shadow depth, and dimensional quality of your photo.
- Front Lighting: The sun is directly behind you, illuminating the subject fully. While great for vibrant colors, it can make landscapes look flat because it minimizes shadows.
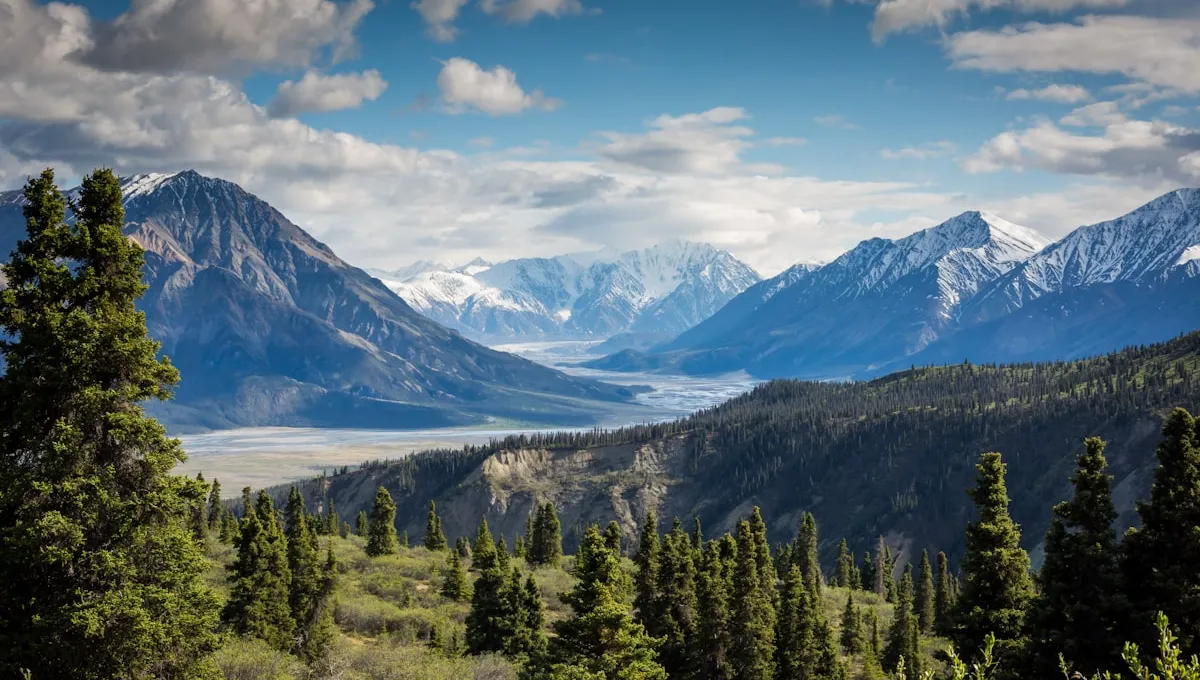
- Side Lighting: The sun is at a 90-degree angle to the subject. This is the gold standard for landscape photography. Side lighting casts long shadows across mountains and fields, revealing textures, contours, and depth.
- Backlighting (Contre-jour): The sun is directly in front of you, behind the subject. This creates beautiful rim lighting (halo effect) around subjects and can result in stunning silhouettes or warm, dramatic lens flares.
2. Timing the Golden Hour
Most landscape photographers live for the “Golden Hour”—the first hour after sunrise and the last hour before sunset. During this time, the sun is low on the horizon, meaning its light travels through more of the Earth’s atmosphere. This diffuses the light, making it softer, and shifts the color temperature to a warm, golden orange.
To make the most of the Golden Hour:
- Arrive early: Set up your tripod and compositions in the blue hour (just before sunrise or after sunset) so you don’t waste the short golden window.
- Expose for the highlights: Low sun creates high dynamic range. Keep an eye on your histogram to make sure you aren’t blowing out the highlights in the sky.
3. Embracing Overcast Days
Many beginners pack their cameras away when clouds roll in. This is a mistake. An overcast sky acts as a giant, natural softbox, scattering the light evenly in all directions.
This diffused, low-contrast light is absolute perfection for portraiture and close-up nature photography (like forest streams or details). It eliminates harsh shadows under the eyes and nose, creating flattering skin tones and saturated colors.
Summary
The best gear is the gear you have, and the best light is the light that nature provides. By learning to watch how shadows fall and how the color of the sun changes throughout the day, you will start seeing photos before you even lift the viewfinder.